A new television can look impressive straight out of the box, but the factory picture mode is not always the best choice for your room. Bright shop-floor settings, motion processing and excessive sharpness can make a TV look punchy without making the picture more natural.
The good news is that you do not need specialist calibration equipment to make sensible improvements. A few careful adjustments can give films, sport and everyday television a cleaner, more comfortable picture.
Start with the right TV picture mode
Most modern TVs include several preset picture modes. Names vary by manufacturer, but you may see options such as Standard, Dynamic, Cinema, Movie, Filmmaker or Eco.
For general home viewing, Cinema, Movie or Filmmaker-style modes are often a strong starting point because they usually reduce exaggerated colour, sharpening and processing. Dynamic or Vivid modes are designed to look striking in bright environments and can make colours and contrast appear unnatural at home.
There is no single setting that suits every television, room and viewer. Treat the preset as a starting point, then make small adjustments while watching familiar content.
Brightness is not always what it sounds like
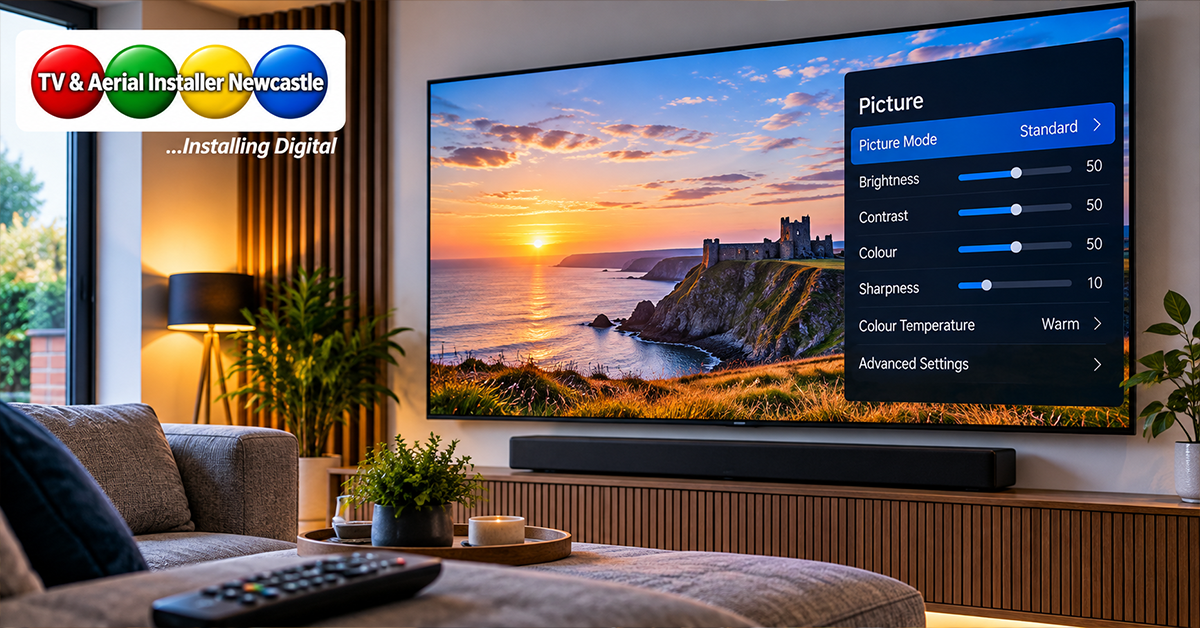
TV menus can be confusing because manufacturers use different names for similar controls. On some sets, “Brightness” changes the overall light output. On others, it adjusts the black level while a separate Backlight, OLED Light or Panel Brightness control changes how bright the screen actually appears.
If your TV is uncomfortable to watch in the evening, reduce the overall panel light output rather than immediately changing every picture control. Conversely, a bright room during the day may need a higher panel-light setting.
Do not push sharpness too far
More sharpness does not create extra detail. Excessive sharpening can add artificial outlines around objects, faces and text, making the image look harsher.
Try reducing the sharpness control and compare the result with familiar HD or 4K material. The aim is a detailed image without obvious halos or exaggerated edges.
Choose a natural colour temperature
Many televisions default to a cooler colour temperature that makes whites appear slightly blue. A Warm or Warm 1 setting often produces a more natural-looking image once your eyes adjust to it.
Personal preference still matters. If a warm preset looks uncomfortable to you, move one step towards neutral rather than forcing a setting simply because somebody online recommends it.
Be careful with motion smoothing
Motion processing can make movement look smoother by creating or blending additional frames. It can be useful for some sport, but strong settings can make films and drama look unnaturally smooth.
If films have the familiar “soap opera” appearance, look for controls labelled Motion Smoothing, Motion Interpolation, TruMotion, MotionFlow or a similar manufacturer-specific name. Reduce the setting or try the TV’s cinema-oriented motion option.
Check your source before changing the TV
A poor picture is not always caused by the television settings. Low-resolution channels, heavily compressed streams, weak internet connections and badly configured source devices can all affect what you see.
If one app or channel looks poor but everything else is clear, changing the entire TV picture setup may make the good sources worse. Compare several channels, apps and HDMI devices before making major adjustments.
Make sure HDMI devices are configured correctly
Games consoles, streaming boxes, Blu-ray players and set-top boxes may have their own resolution, HDR and colour-output settings. Modern TVs can also apply different picture settings to each HDMI input, so a change made for one device may not affect another.
If you also use a soundbar, our guide to HDMI ARC and eARC for soundbars explains how the audio connection fits into a modern TV setup.
HDR may use different settings
HDR content can trigger a separate picture mode on compatible televisions. That means the controls you adjusted while watching ordinary SDR television may not be the same settings used for an HDR film or programme.
Do not assume HDR should look permanently brighter in every scene. HDR is designed to provide a wider range between dark and bright parts of the picture where the content and display support it.
Think about the room as well as the screen
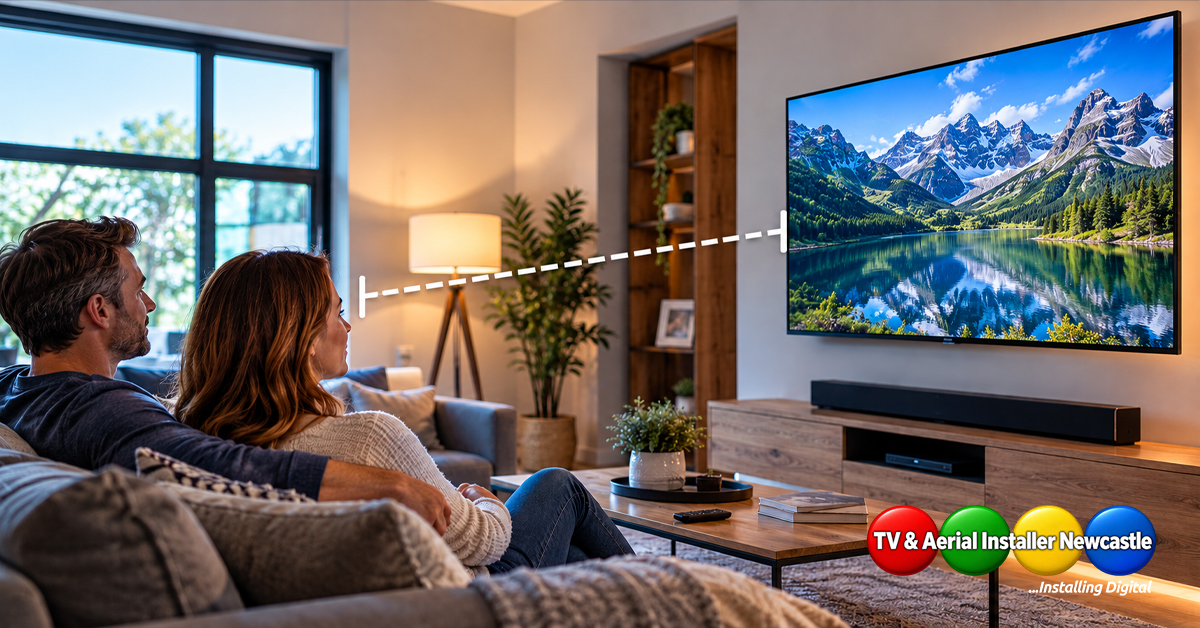
Reflections, direct sunlight and viewing angle can have as much impact as a menu setting. Positioning the television opposite a large window can make dark scenes difficult to see, while mounting it too high can make longer viewing uncomfortable.
If you are planning a new installation, consider screen height, seating position, power, HDMI connections and cable routes before the television goes on the wall. Our TV wall mounting height guide covers the viewing-position side in more detail.
From our experience at TV & Aerial Installer Newcastle
Owner Mick Stocker has 23 years of audiovisual experience. His approach is to consider the complete setup — television position, connected equipment, sound, cabling and signal source — rather than treating the screen as an isolated device.
TV & Aerial Installer Newcastle provides TV installation, wall mounting, hidden cable work, aerial installation, satellite installation and extra TV points across Northumberland.
From our experience at TV & Aerial Installer Newcastle
From our experience at TV & Aerial Installer Newcastle
Owner Mick Stocker has 23 years of audiovisual experience. His approach is to consider the complete setup — television position, connected equipment, sound, cabling and signal source — rather than treating the screen as an isolated device.
TV & Aerial Installer Newcastle provides TV installation, wall mounting, hidden cable work and aerial installation across Northumberland.
Need help setting up a new TV?
If you have bought a new television and want it installed, wall mounted and connected cleanly, we can help plan the complete setup. Visit our TV installation services or request a quote for work across Newcastle and Northumberland.